How to operate the Automist demo
If you have scanned this QR code, you are looking at an Automist installation for training and demonstration purposes. Its correct operation is critical for a successful demonstration, especially the procedures post test to ensure the system is ready for a future test.
Quick links:
Download a poster with the QR code linking to these instructions
Download Automist Fire Demonstration Procedure
Download Automist DIOM Manuals and Guides
IMPORTANT!
For you to operate this demonstration unit you will need:
- A 240V power supply, able to deliver 15A. (208V is the more common power supply in commercial settings in North America. For the system to run correctly, a 240V generator or a 208V to 240V transformer should be used. Plumis recommends a transformer to be permanently added to the demonstration kit with a note stating 208V input.)
- A can of smoke detector tester (or some other smoke producing device).
- A bicycle pump (or air compressor) with a Schrader valve connection.
- An Automist commissioning kit (with spray head tip and hose) and a bucket.
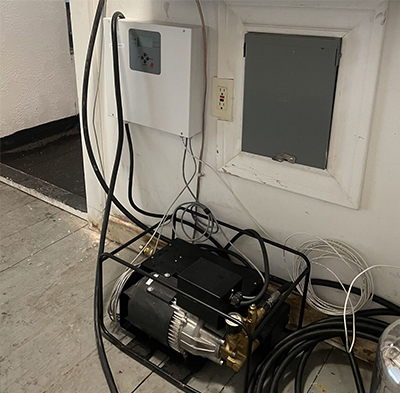
Instructions to power up the Automist demo system:
- The 12V battery inside the control panel needs to be connected before the mains power: open the front panel with 4 screws and connect the leads to the battery. The panel will not turn on. Close the panel with the 4 screws.
- Place a detector on its mounting base before powering it on to avoid an error message.
- Turn on the 240V mains power. The panel will turn on and sound a “ready for battle tune”. The panel will run self-checks before it indicates whether there is an error in the system.
- If there is an error, please search here the correct Automist DIOM for your system to find out the meaning of the error codes.
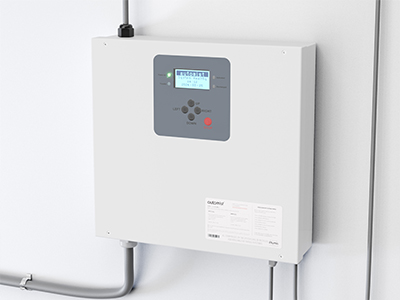
Instructions to connect Automist to the water supply:
- Use the provided ¾” garden hose to connect to the pump inlet. The pressure should not be below 14psi and not above 100psi. The pump will draw 2.4GPM.
- Allow the hose to be full with water before it is connected to the inlet so that the pump is not running dry while priming the water supply.
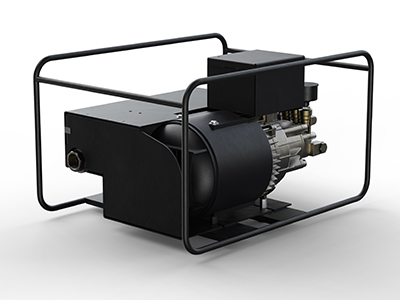
Instructions to prepare the Automist system for a fire demonstration:
- The system must be powered by a 240V supply and by the pressurised water supply, as above and must have no error messages.
- The system should be either flow tested (part of the commissioning process) if it has been left unused for a long time, or put into test mode, to check the adequate operation of the smoke detector and comms. The flow test checks IR sensor operation, pump, hydraulic connections and comms but does not test the smoke detector. The test mode tests the smoke detector operation.
- It is critical to use a wet, then a dry cotton bud to clean the IR sensor on the tip of the spray head prior to a test. Particulate matter can accumulate on the sensor if the room has been used for burns or has been in a dusty environment.
- For an adequate and realistic fire demonstration, please refer to the Fire Demonstration Procedure, here.
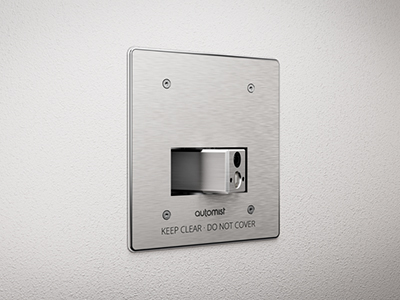
Instructions to turn the system off and store post demonstration:
- Drain the water from the high-pressure hose by pumping air through the pump as instructed in the DIOM and out from the nozzle tip. The nozzle should still be pointing at the fire location and the room should be wet so there is no need for a commissioning kit to be attached.
- Clean the IR sensor on the tip of the spray head with a wet then a dry cotton bud.
- Wait for 12 minutes for the system to leave the “post activation” state, only then can the system return to an “uncommissioned” state. Press the stop button on the controller and check that the spray head has returned to its parked position.
- Power down the system from mains power.
- Open the panel and disconnect the 12V battery. Screw the panel cover back.
- Drain the water from the inlet hose by disconnecting it from the pump and draining it.
- Remove the smoke detector and store it in a dry place. Discard the smoke detector safely if it has been used for more than 10 fire tests as its sensitivity may be impaired by then. Replace it sooner if it has been observed to be less sensitive than prior fire tests.
Poster Download
Download and print the poster including a QR code linking to these instructions here.

